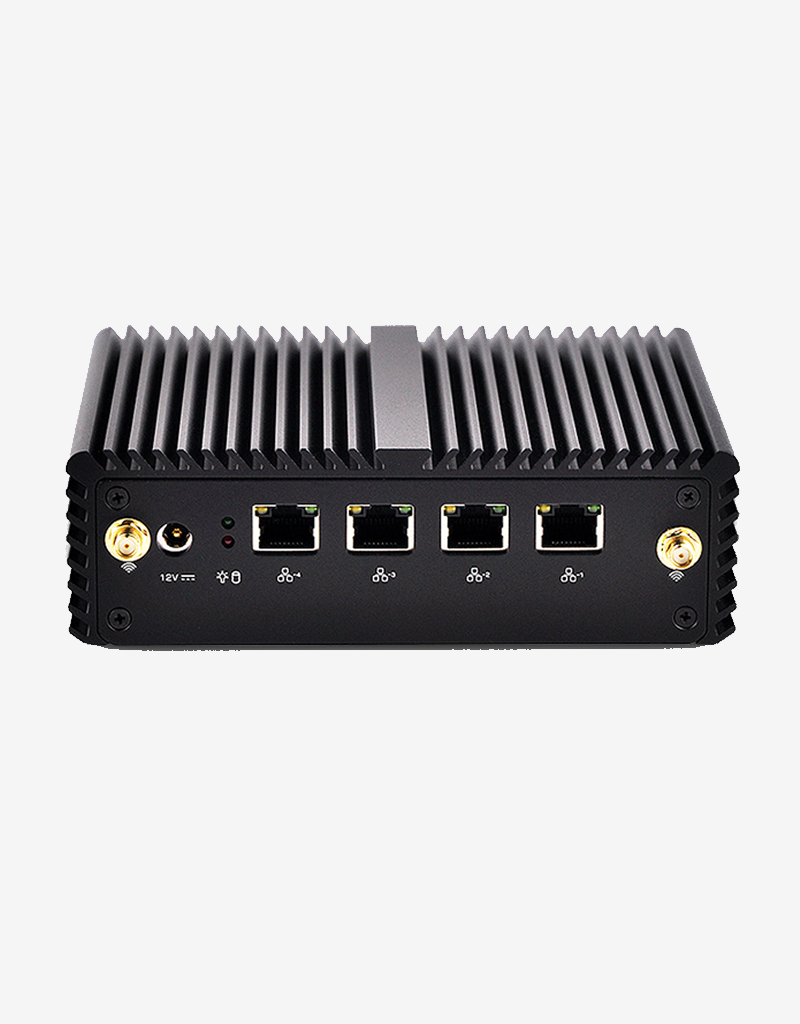
Firewall Q1
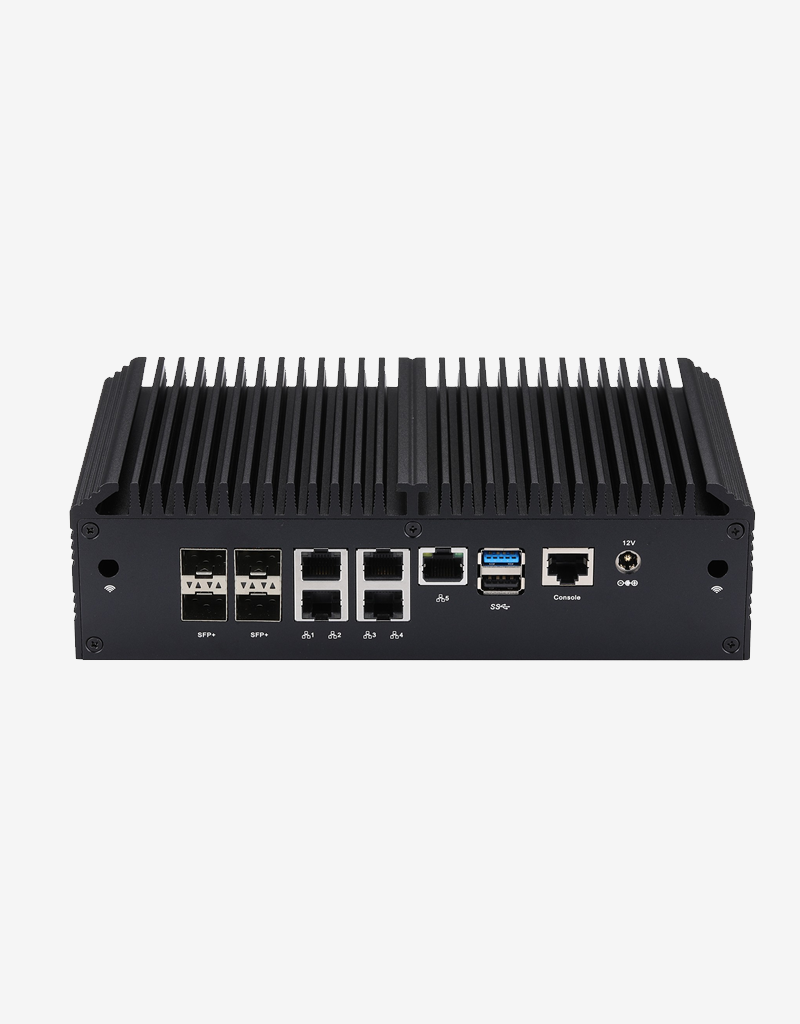
Firewall Q2
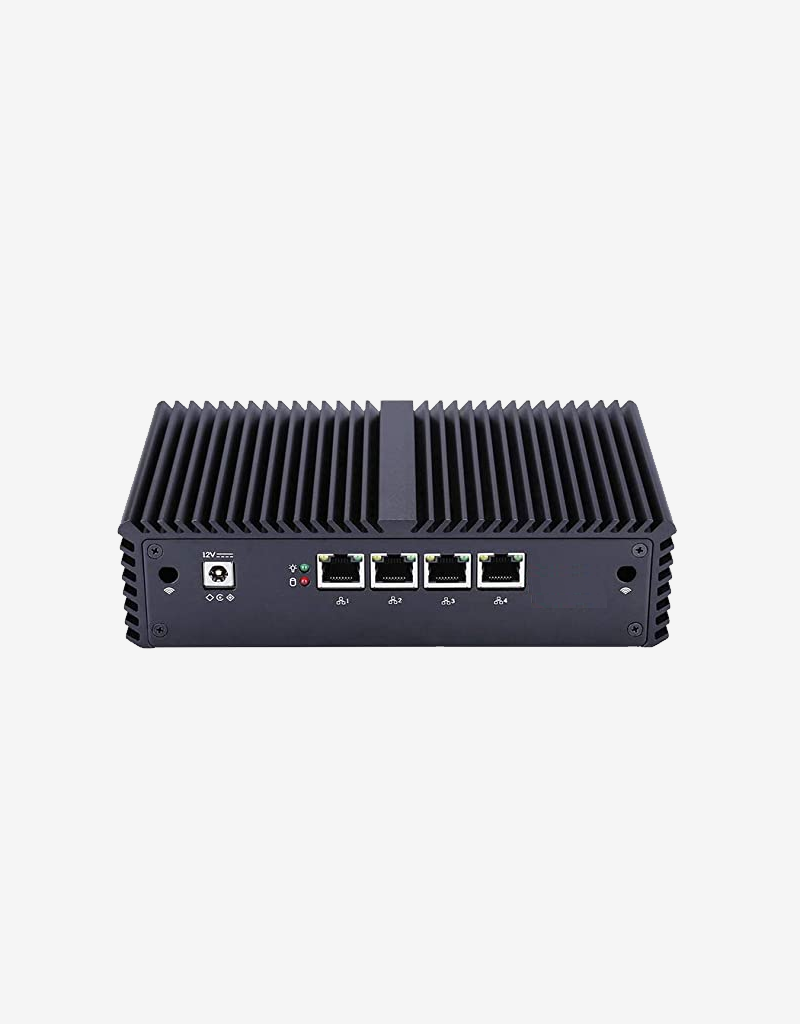
Firewall Q3
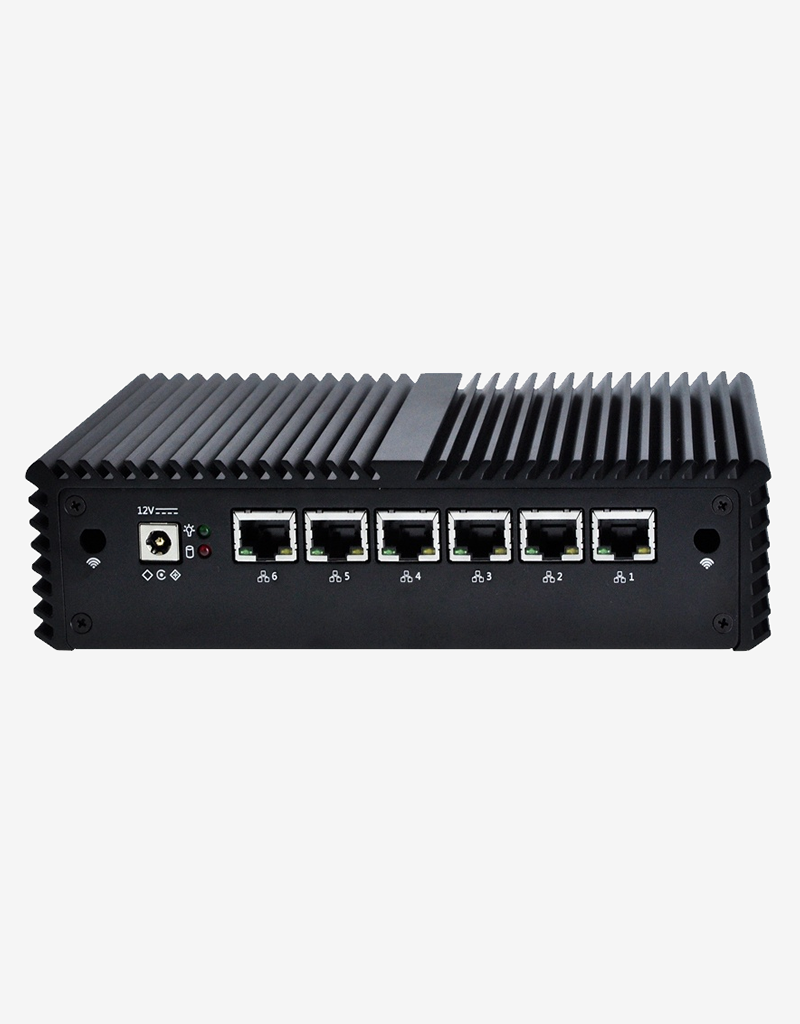
Firewall Q5
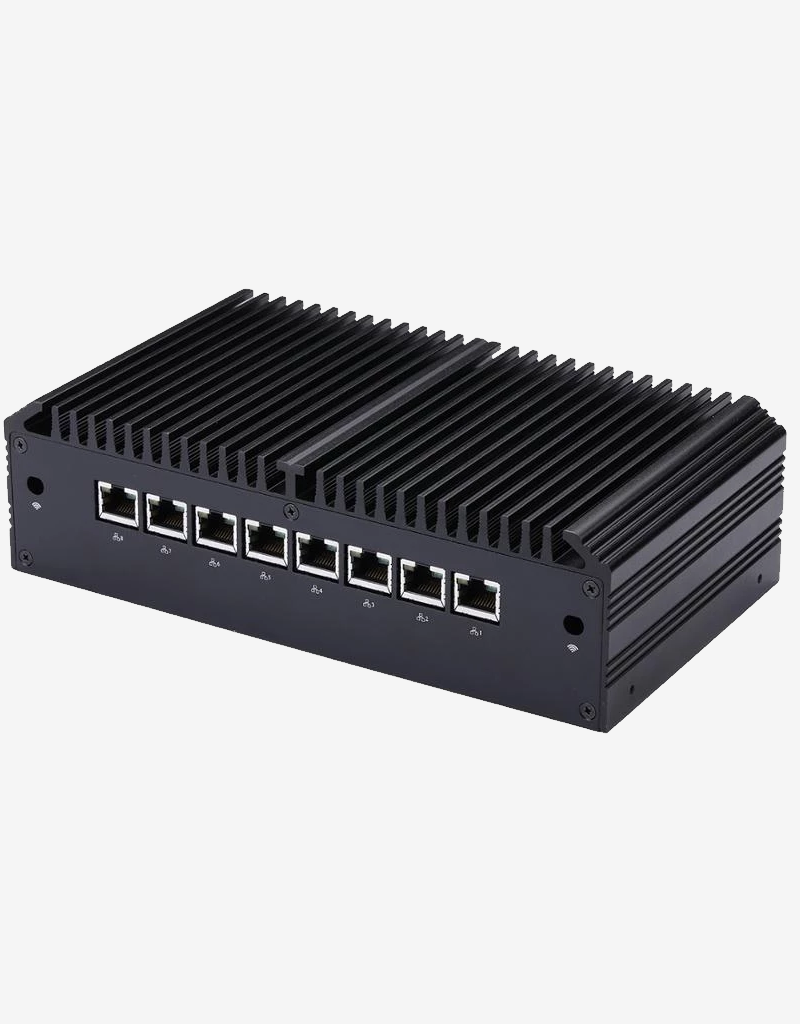
Firewall Q8
Reinstall pfSense or OPNsense on the Qotom Firewall range!
Don’t panic, there are solutions.
My Firewall is a Qx.
To reinstall pfSense you will need:
- A 512MB > USB key,
- A PC or Mac
- The PUTTY software to connect in console mode, available here,
- Rufus or Balena software to write the pfSense or OPNsense ISO to the USB key.
It will take you approximately 15/30 minutes to reinstall your EWALL Firewall.
First operation, create the recovery USB key
We will create a bootable USB key with the pfSense software.
For this first operation, download Rufus from the official website: RUFUS
You have the choice of installable or portable version. I recommend the portable version which does not install, because you will not need RUFUS constantly.
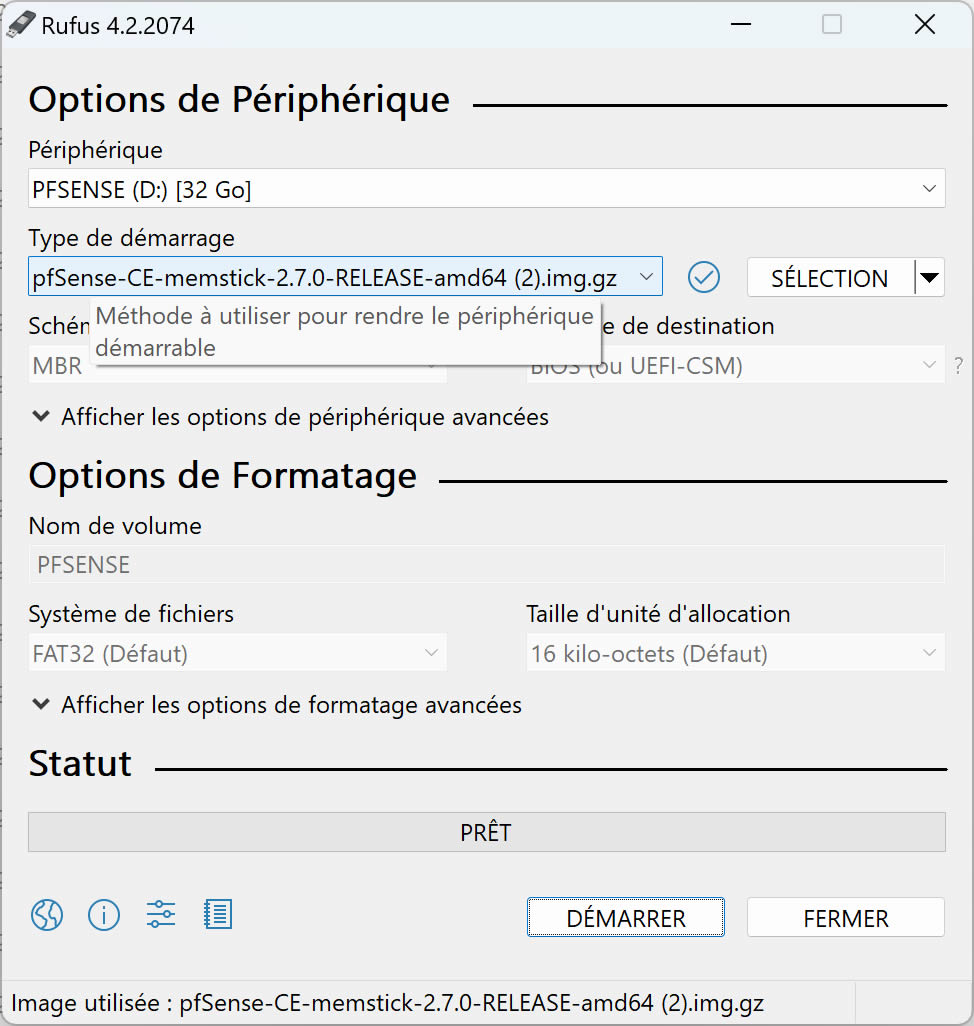
Rufus
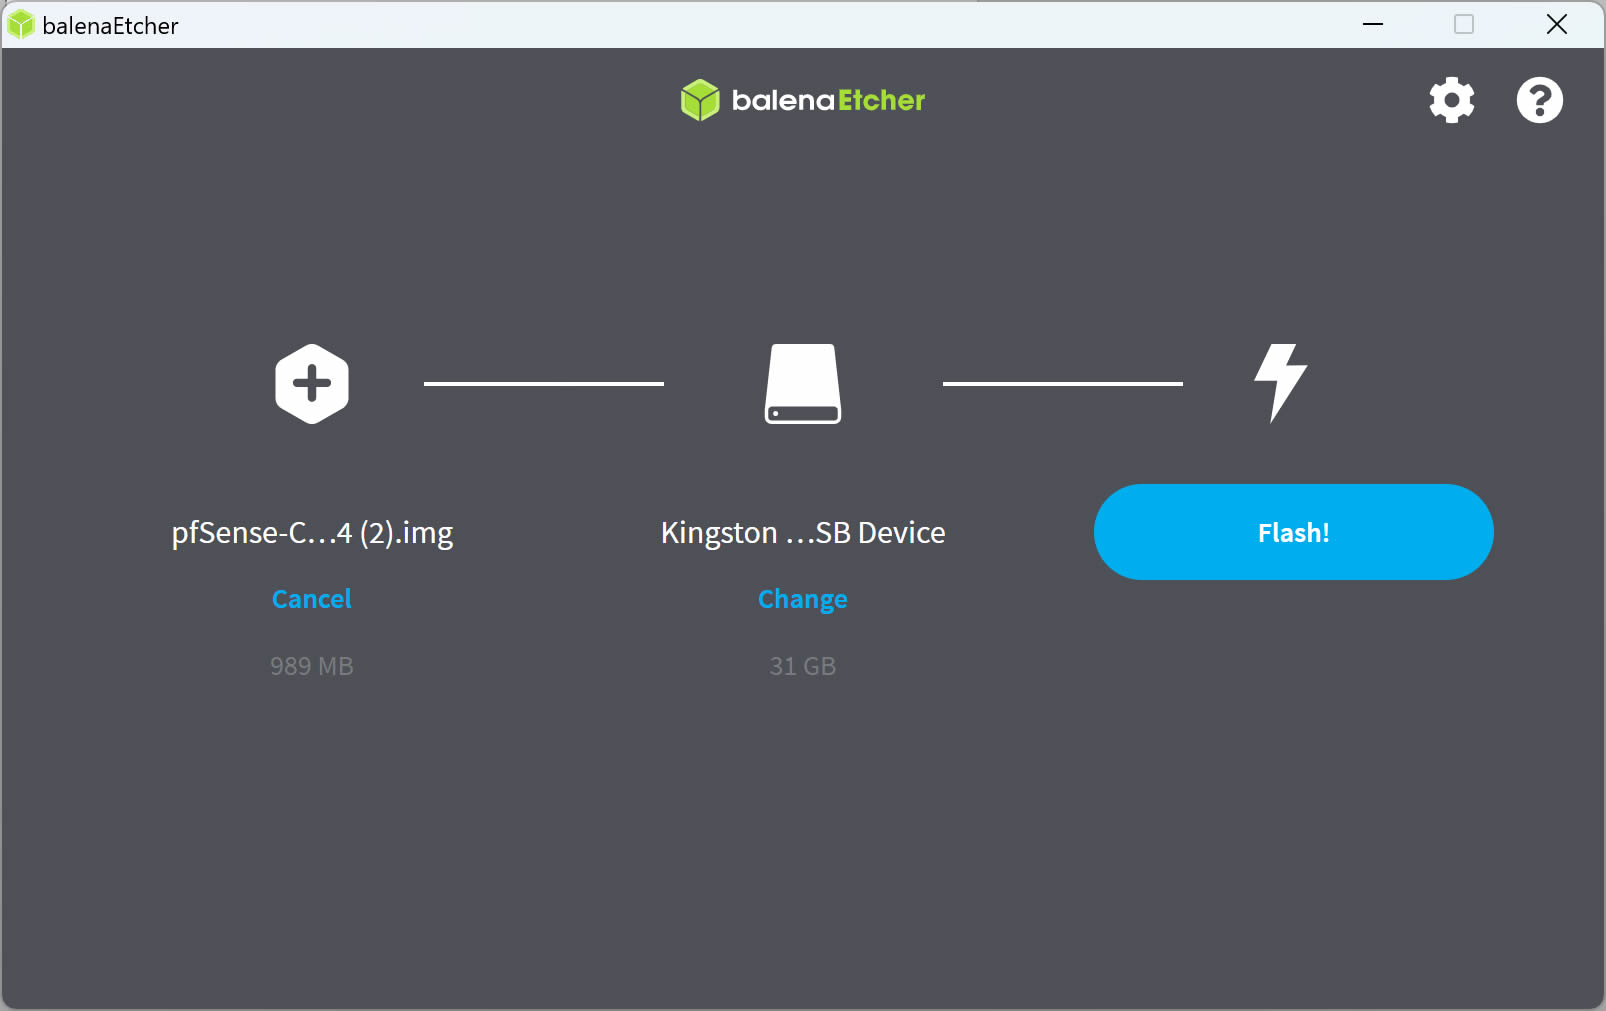
Balena Etcher
Next, download pfSense for your Firewall: pfSense
Where to download OPNsense for your Firewall: OPNsense
The Qx Firewalls include a VGA/HDMI screen output. So you will need to choose the following parameters to have the right distribution for your firewall:
- Choose AMD64 (64-bit) because the case is not a Netgate case. Otherwise Netgate ADI for official Netgate boxes,
- Select the distribution for USB Memstick Installer to allow you to write and start pfSense on a USB key,
- Select VGA for console type for ranges with a video port,
- Select a mirror for downloading, i.e. the storage point of the image to download. Select a mirror for downloading, i.e. the storage point of the image to download. Never download distributions outside the publisher’s official website!
- The download begins…
You should have a pfSense-CE-memstick-2.x.x-RELEASE-amd64.img.gz file on your computer

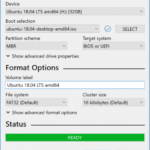
Now we will write the pfSense image to the USB stick and make the stick bootable. Insert your USB drive into your computer. Then launch RUFUS, you will have a Dashboard that appears (see opposite).
- In “Device” select your USB key,
- In “Boot selection” click on Select and choose your pfSense-CE-memstick-2.x.x-RELEASE-amd64.img.gz file,
- And click on “Start“,
- After a few minutes, your pfSense bootable key is ready. You can close RUFUS.
Second operation, install pfSense on the Qx Firewall
You will need your EWALL Qx Firewall box, a VGA or HDMI screen, a keyboard and a mouse to complete the installation.
Connect the screen, keyboard and mouse to your firewall.
When starting the firewall, you can press F11 to choose which storage to start your firewall on. Choose your USB key and let the pfSense boot start from the USB key until the first question (wait a few seconds).
Choose your USB key in UEFI mode
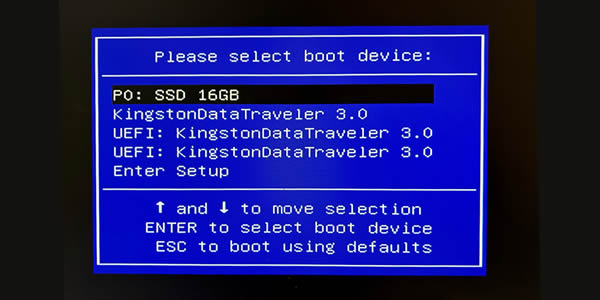
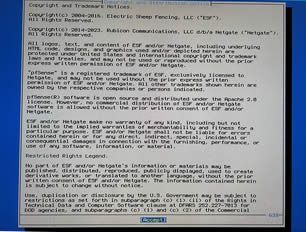
The firewall boots on pfSense. Wait for the Copyright page to display.
Whether or not to accept the pfSense Open Source distribution agreement.
Accept pfSense installation
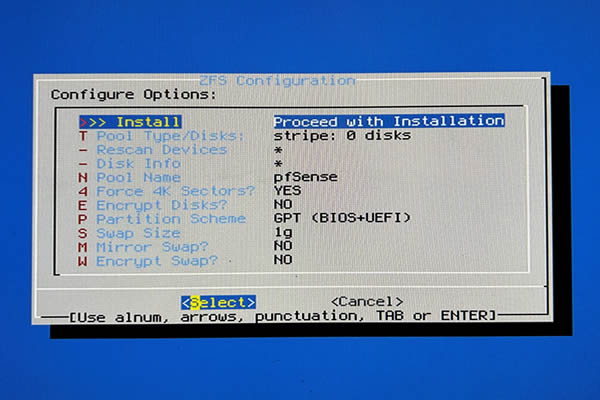
Choose the redundancy mode

Select your disk
If you don’t see a disk, it’s either broken or missing!
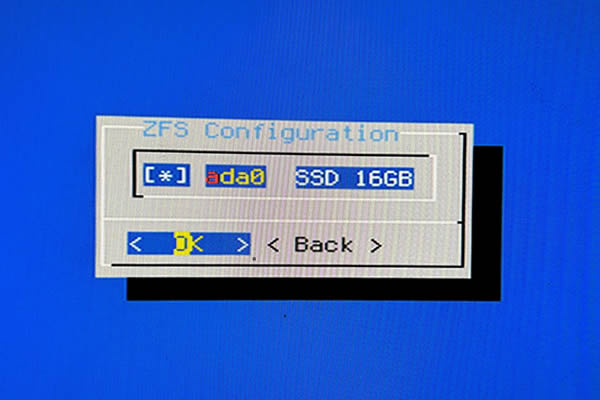
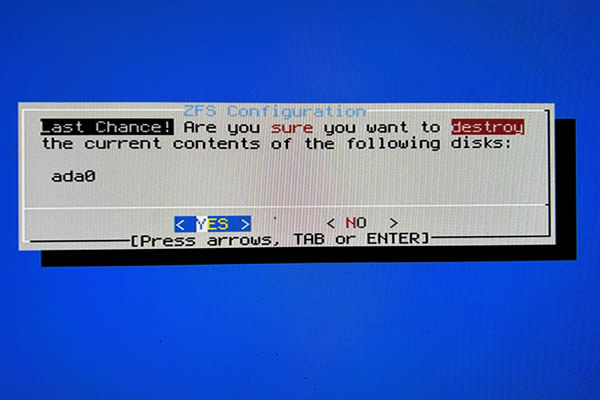
Confirm that all data contained on the disk will be destroyed.
The installation starts.
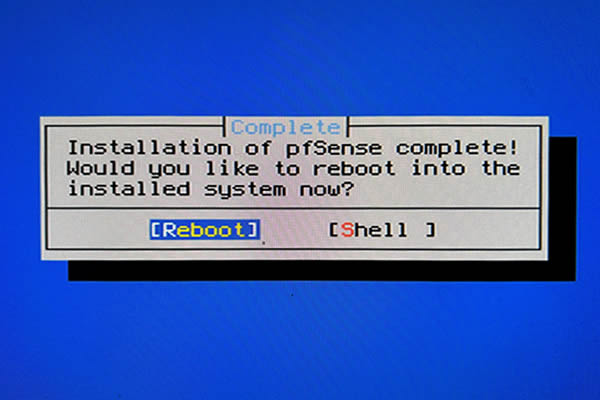
It’s finished, select “Reboot“, which will restart your firewall, this will complete the installation of pfsense and it will become operational with the factory configuration.
Don’t forget to remove the USB key!
User/password reminder after factory config: root/pfsense
